This website uses cookies so that we can provide you with the best user experience possible. Cookie information is stored in your browser and performs functions such as recognising you when you return to our website and helping our team to understand which sections of the website you find most interesting and useful.
Font Size:
Introduction
Key Features
Uniqueness
Frequently Asked Questions
Open-Source?
Registration Needed?
Installation Required?
AI-empowered?
Specifications
URL:
Country or Region:
Author(s):
License:
Operating System(s):
Language(s):
Registration Needed:
Installation Required:
Video Demonstration
User Guide
This guide outlines how to access the CapCut web editor, perform video editing tasks, use AI tools for background removal and captions, generate text-to-speech, and export the final video. (Access Date: 21 July 2025)
Access CapCut Website
| a. | Navigate to the website: https://www.capcut.com/tools/online-video-editor; |
| b. | Click Try CapCut Online; |
| c. | Log in to your CapCut account or register (Note: Registration supports Email account, Google account, TikTok account, and Facebook account). |
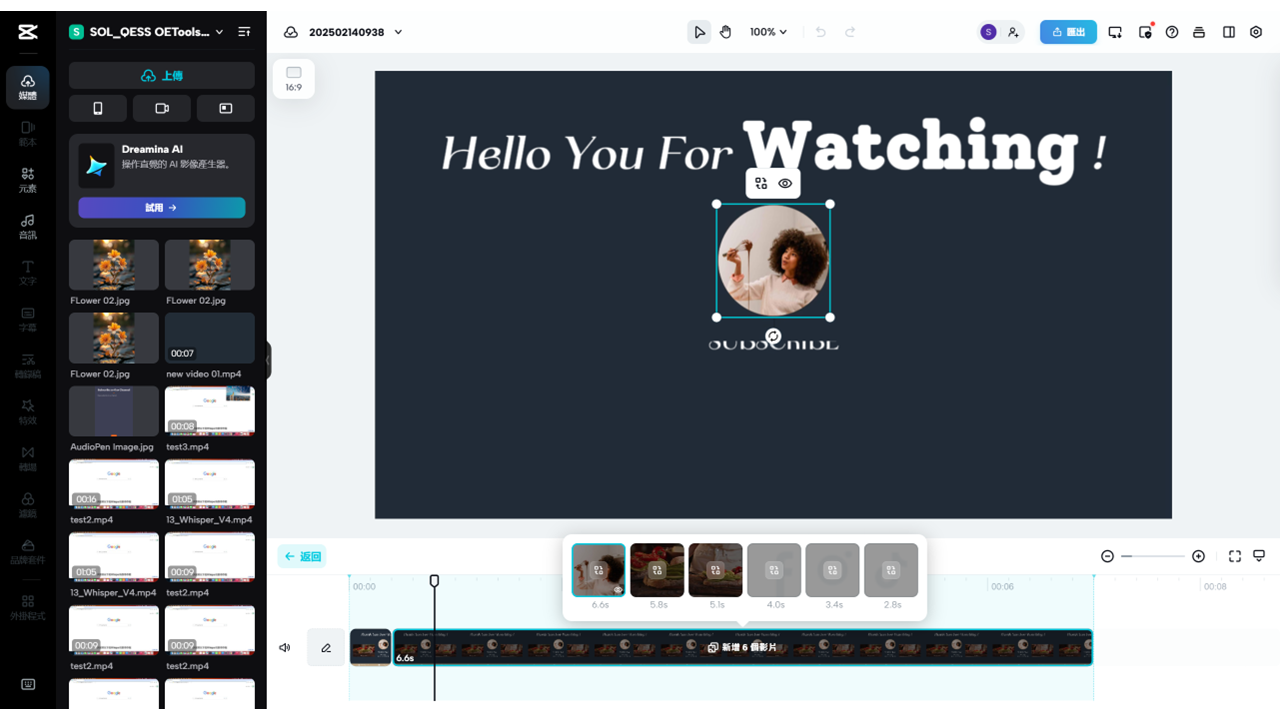
Edit Video Content
| a. | Click the + Create New button on the left-side menu to open the edit page; |
| b. | Drag and drop media files from your local folder to the webpage; |
| c. | Click Template on the left-side panel to select a template from the library; |
| d. | Drag and drop a selected template to the timeline area at the bottom; |
| e. | Click the Edit template button to begin editing; |
| f. | Click the preset media on the timeline to replace it; |
| g. | Click the text on the preview player to edit the content and font; |
| h. | Click Back to save the changes. |
Remove Background from Video
| a. | Click the AI Tools button on the left-side menu to open the edit page; |
| b. | Select the Image tab; |
| c. | Click Remove background (Note: This is a Pro Feature); |
| d. | Drag and drop files into the upload area; |
| e. | Click Smart tools on the right panel, then select Remove background; |
| f. | Toggle on Auto removal or select Chroma key and pick a colour in the image to remove; |
| g. | Click the Run button to start processing (Note: Pro features require upgrading the subscription plan to export the video). |
Convert Text to Speech
| a. | Click the New video button in the Create AI Voiceover section; |
| b. | Click Text to speech and enter the script; |
| c. | Select the desired voice and click Generate; |
| d. | Click the player to listen to the audio and click the Download button to save the result. |
Generate AI Captions
| a. | Click AI Captions in the middle of the webpage; |
| b. | Click Upload video and wait for AI subtitles to be automatically generated; |
| c. | Click the Subtitle button to view the generated caption; |
| d. | Click the translation icon under the subtitle area and select the target language to translate the subtitles. |
Export and Share
| a. | Click the black shield icon at the top-right corner of the page to check the usage of the Pro feature; |
| b. | Click the Export button, and set the video name, resolution, quality, frame rate, and format in the dropdown panel; |
| c. | Choose your file format from the options; |
| d. | Click Export, and then Download to save the media file. |
Educational Scenarios
Educators' Perspectives
Learners' Perspectives