This website uses cookies so that we can provide you with the best user experience possible. Cookie information is stored in your browser and performs functions such as recognising you when you return to our website and helping our team to understand which sections of the website you find most interesting and useful.
Font Size:
Introduction
Key Features
Uniqueness
Frequently Asked Questions
Open-Source?
Registration Needed?
Installation Required?
AI-empowered?
Specifications
URL:
Country or Region:
Author(s):
Availability:
Operating System(s):
Language(s):
Registration Needed:
Installation Required:
Video Demonstration
User Guide
This guide introduces a selection of key features from Anki, including:
- Download and Install Anki
- Import Shared Deck
- Create Deck and Cards
- Study Cards
1. Download and Install Anki
| a. | Navigate to the website: https://apps.ankiweb.net; |
| b. | Click the Download button and select the version suitable for the device; |
| c. | Open the installer file and follow the on-screen instructions to complete the installation. |
2. Import Shared Deck
| a. | Launch the Anki application; |
| b. | Click the Get Shared Decks button at the bottom; |
| c. | Search or browse for a deck on the Shared Decks webpage; |
| d. | Click the title of the desired deck to view it; |
| e. | Scroll down and click the Download button to save the APKG file; |
| f. | Double-click the downloaded APKG file to open it in Anki; |
| g. | Click the Import button to add the deck into the collection (Note: Shared decks are created by the user community; double-check the content when learning it). |
3. Create Deck and Cards
| a. | Click the Create Deck button in the main window; |
| b. | Input a name for the deck and click the OK button to confirm; |
| c. | Click the Add button to open the card editing window; |
| d. | Select the Note Type and the destination Deck; |
| e. | Click the Fields… button to add, edit, or remove fields such as Front and Back; |
| f. | Input the information into the Front and Back fields; |
| g. | Click the Cards… button to edit the card templates and styling (Note: The templates are written in HTML, and the styling section is CSS); |
| h. | Click the Save button after editing the card template; |
| i. | Click the Add button to save the card. |
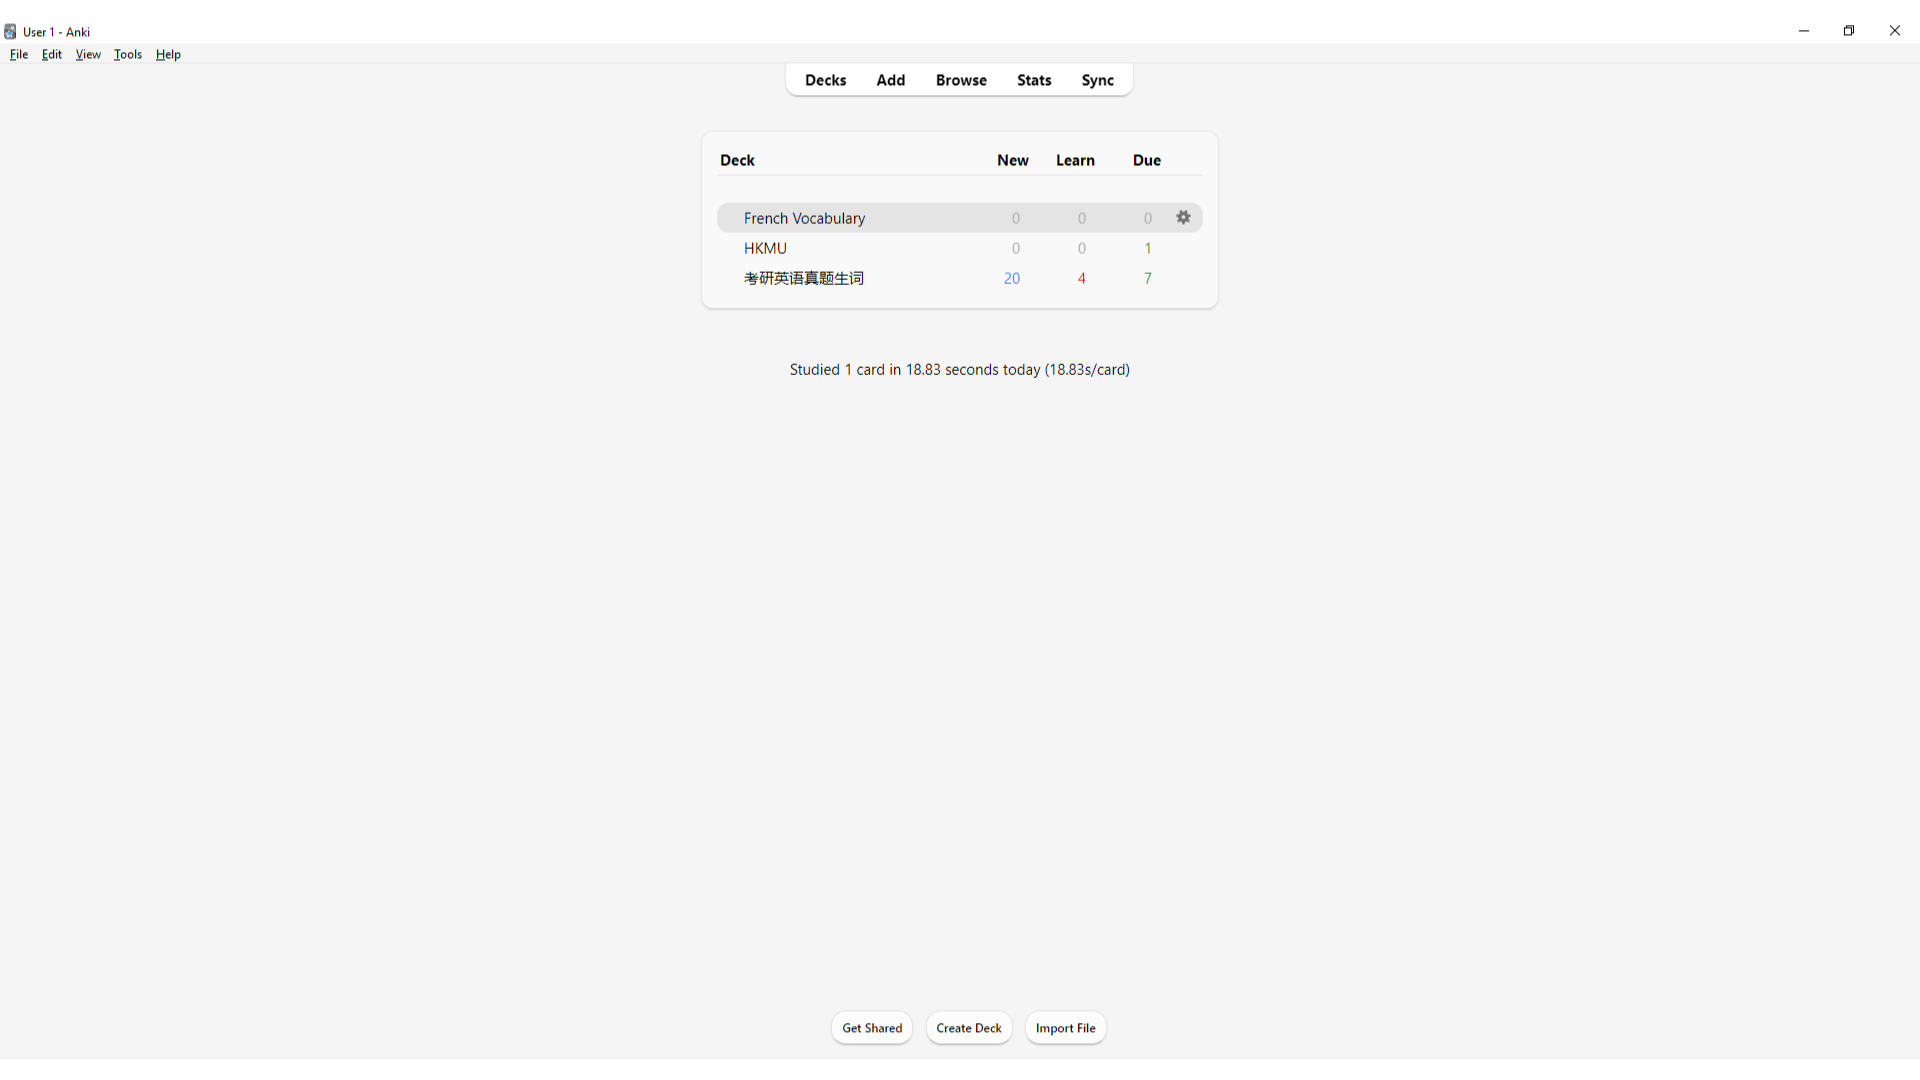
4. Study Cards
| a. | Click a deck name from the main window; |
| b. | Click the Study Now button; |
| c. | Click the Show Answer button after reviewing the question; |
| d. | Click Hard, Good, or Easy to rate the recall difficulty and proceed to the next card; |
| e. | Click the Stats button on the top panel to view the learning statistics. |
Educational Scenarios
Educators' Perspectives
Learners' Perspectives