This website uses cookies so that we can provide you with the best user experience possible. Cookie information is stored in your browser and performs functions such as recognising you when you return to our website and helping our team to understand which sections of the website you find most interesting and useful.
Font Size:
Introduction
Key Features
Uniqueness
Frequently Asked Questions
Open-Source?
Registration Needed?
Installation Required?
AI-empowered?
Specifications
URL:
Country or Region:
Author(s):
Availability:
Operating System(s):
Language(s):
Registration Needed:
Installation Required:
Video Demonstration
User Guide
This guide outlines how to use Excalidraw to create and customise drawings, generate diagrams from text or code, and save or export your work.
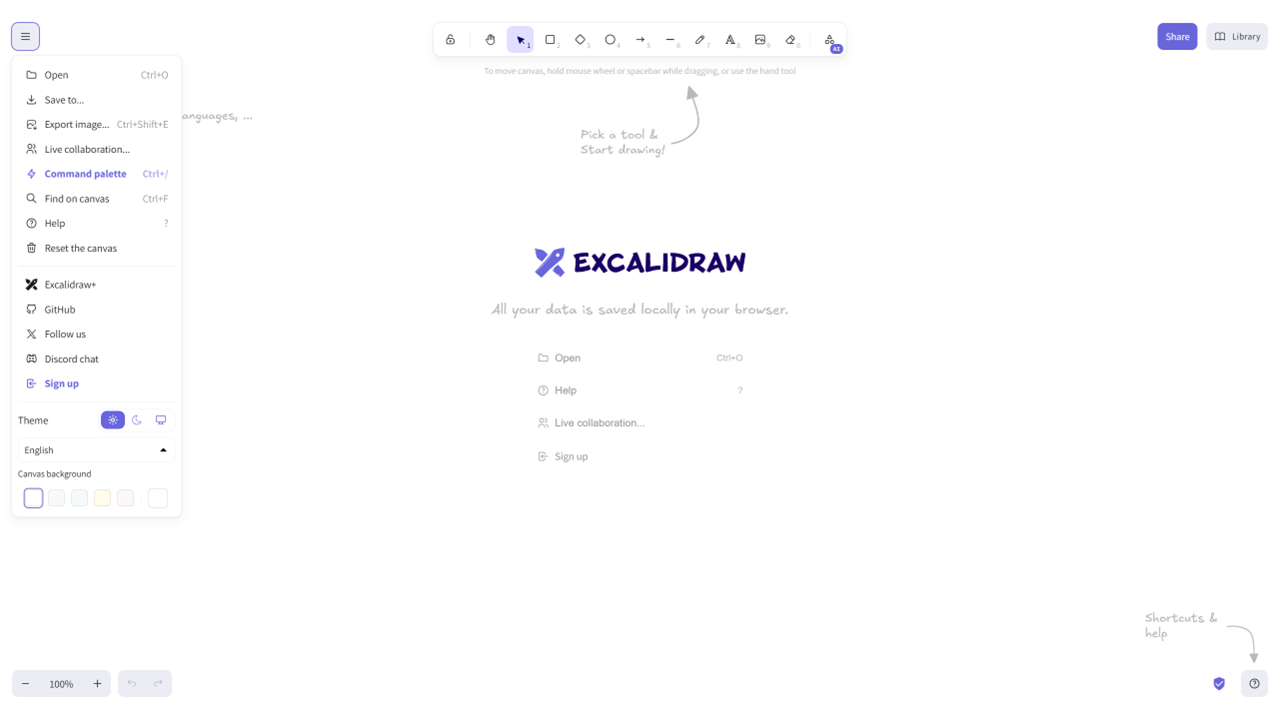
Access Excalidraw Website
| a. | Navigate to the website: https://excalidraw.com/ (Note: No account is required to use the basic features). |
Create and Customise Drawings
| a. | Select a tool such as Rectangle, Diamond, Ellipse, Arrow, or Line from the top toolbar; |
| b. | Click and drag on the canvas to create a shape or line; |
| c. | Use the Select tool to click on any object to move, resize, or rotate it; |
| d. | Select an object to open the properties panel on the left-hand side; |
| e. | Modify properties such as Stroke colour, Background fill, Sloppiness, and Opacity; |
| f. | Adjust the font size, family, and alignment for any text elements; |
| g. | Click the Library button in the top toolbar to open the library panel; |
| h. | Click Browse Library to view pre-made libraries and click an item to add it to the canvas; |
| i. | Select objects on your canvas and click Add to Excalidraw to create reusable components. |
Generate Diagrams with AI
| a. | Click the More tools icon in the top toolbar; |
| b. | Select Text to diagram from the dropdown menu; |
| c. | Type a description of your workflow into the Prompt box on the Text to diagram tab; |
| d. | Click the Generate button to create a preview; |
| e. | Click Insert to add the generated diagram to your canvas; |
| f. | Click the More tools icon and select the Mermaid tab to generate from code; |
| g. | Enter your code into the Mermaid Syntax box (Note: Supports Flowchart, Sequence, and Class Diagrams); |
| h. | Review the live Preview on the right; |
| i. | Click Insert to place the diagram onto your canvas. |
Export and Share
| a. | Click the menu icon in the top-left corner; |
| b. | Select Save to... and then Export to save the project as an .excalidraw file; |
| c. | Select Export image to save the drawing as a PNG, SVG, or WEBP file; |
| d. | Select Live collaboration and then Start session to get a shareable link to invite people to collaborate on your drawing. |
Educational Scenarios
Educators' Perspectives
Learners' Perspectives